Before we get to this month's challenge, here are links to the previous months.
January Challenge - "Unloved" fabrics in a plus quilt by Cassandra McKee
February - HSTs by Elle
March Challenge - Improv Curves by Alyson
April Challenge - Quilt Math by Lorraine
May Challenge - Monochromatic Quilts by Stephanie A.
June Challenge - Precision Curves by Meg
July Challenge - Equilateral Triangles by Anjeanette
August Challenge - Solids by Anne B
September Challenge - Strings by Laurie
October Challenge - Wedges by Anne and Lynne
November Challenge - Cohesive Scrappy Quilts by Angela
December Challenge - Y-seams by Anjeanette
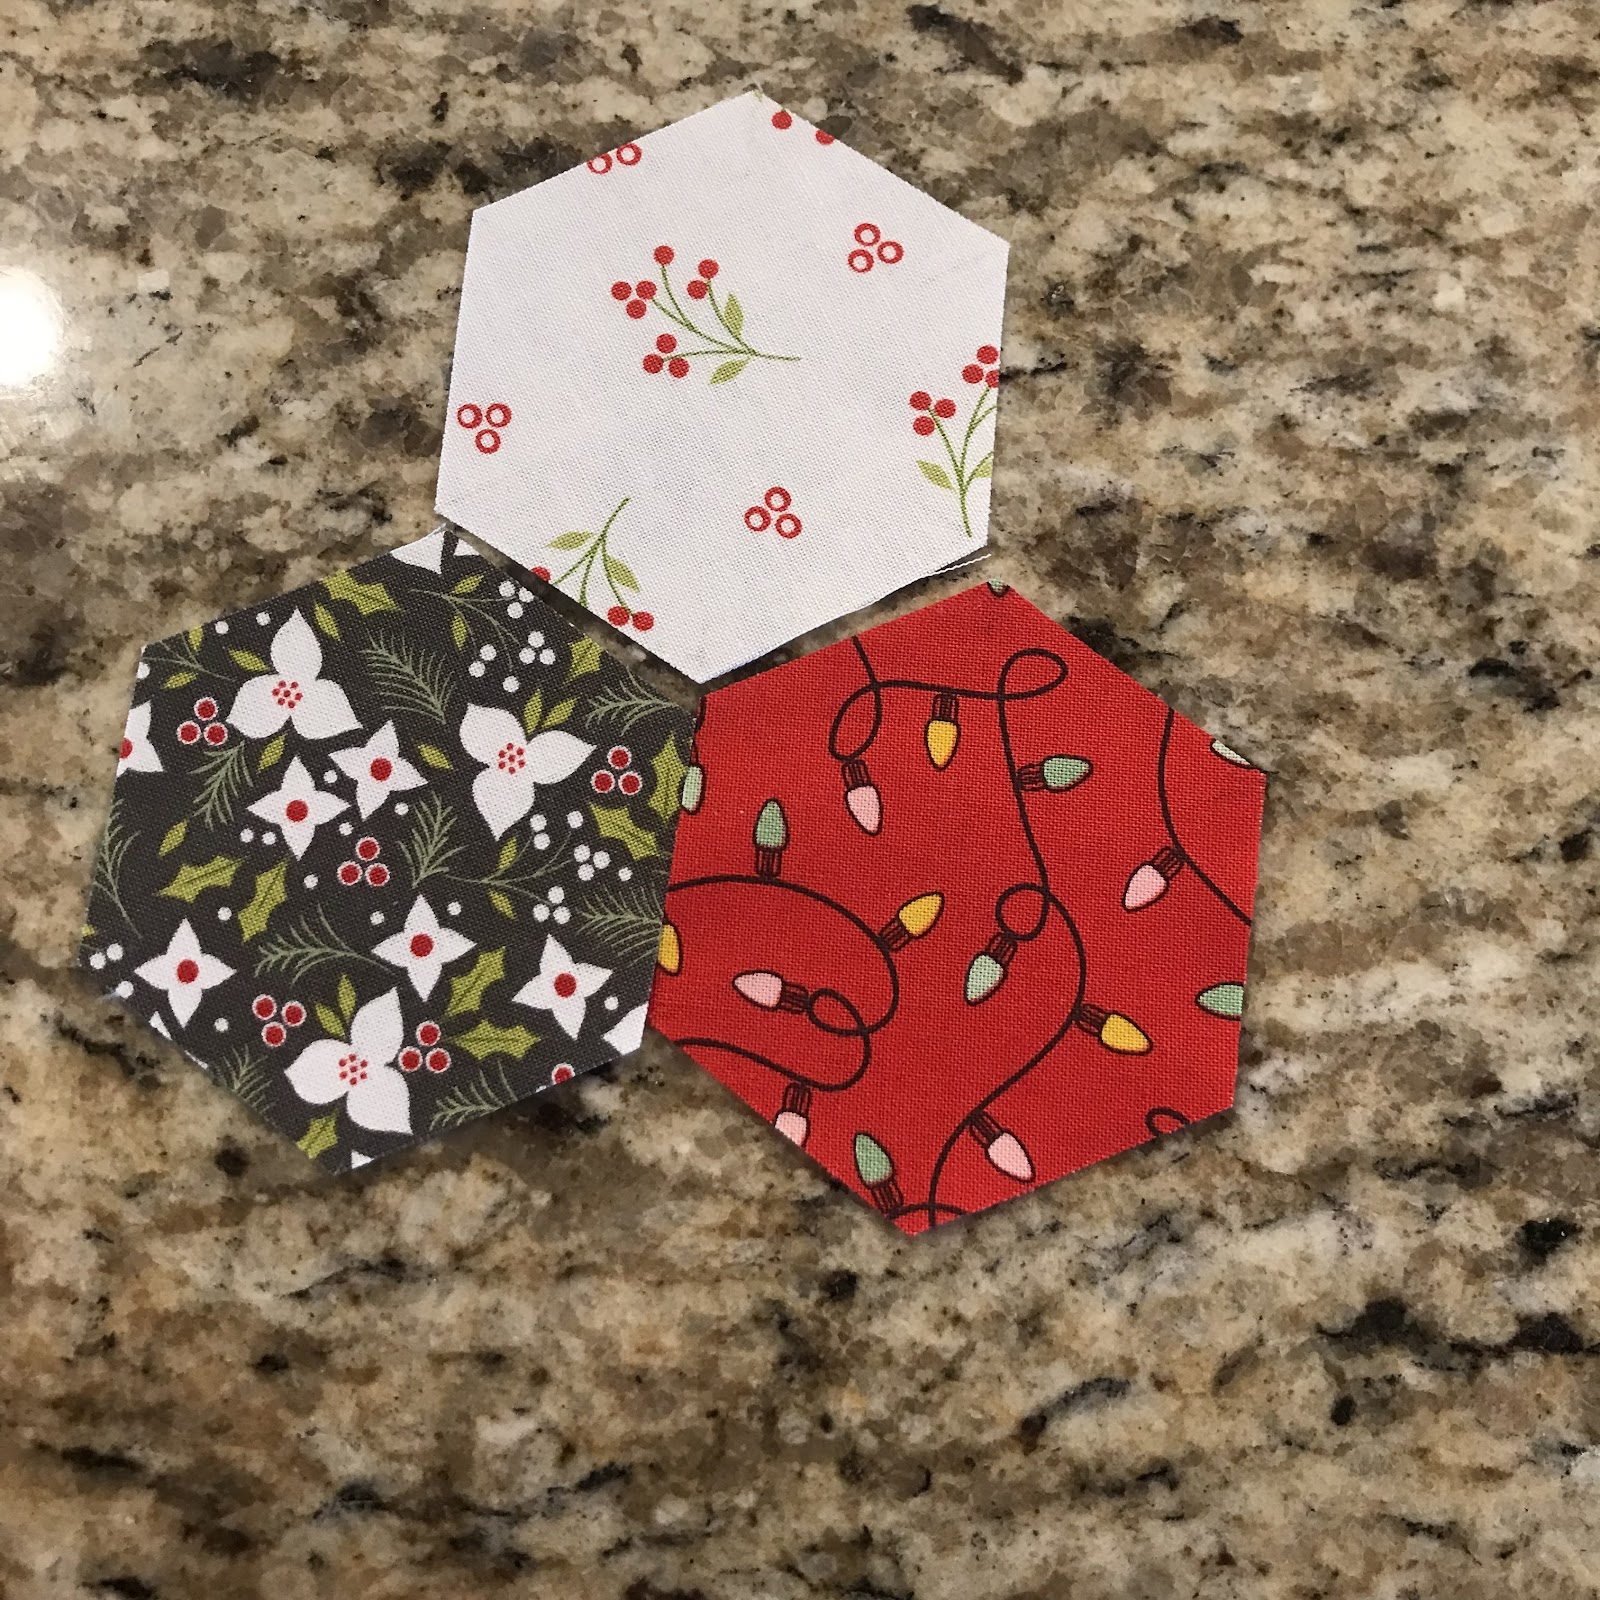
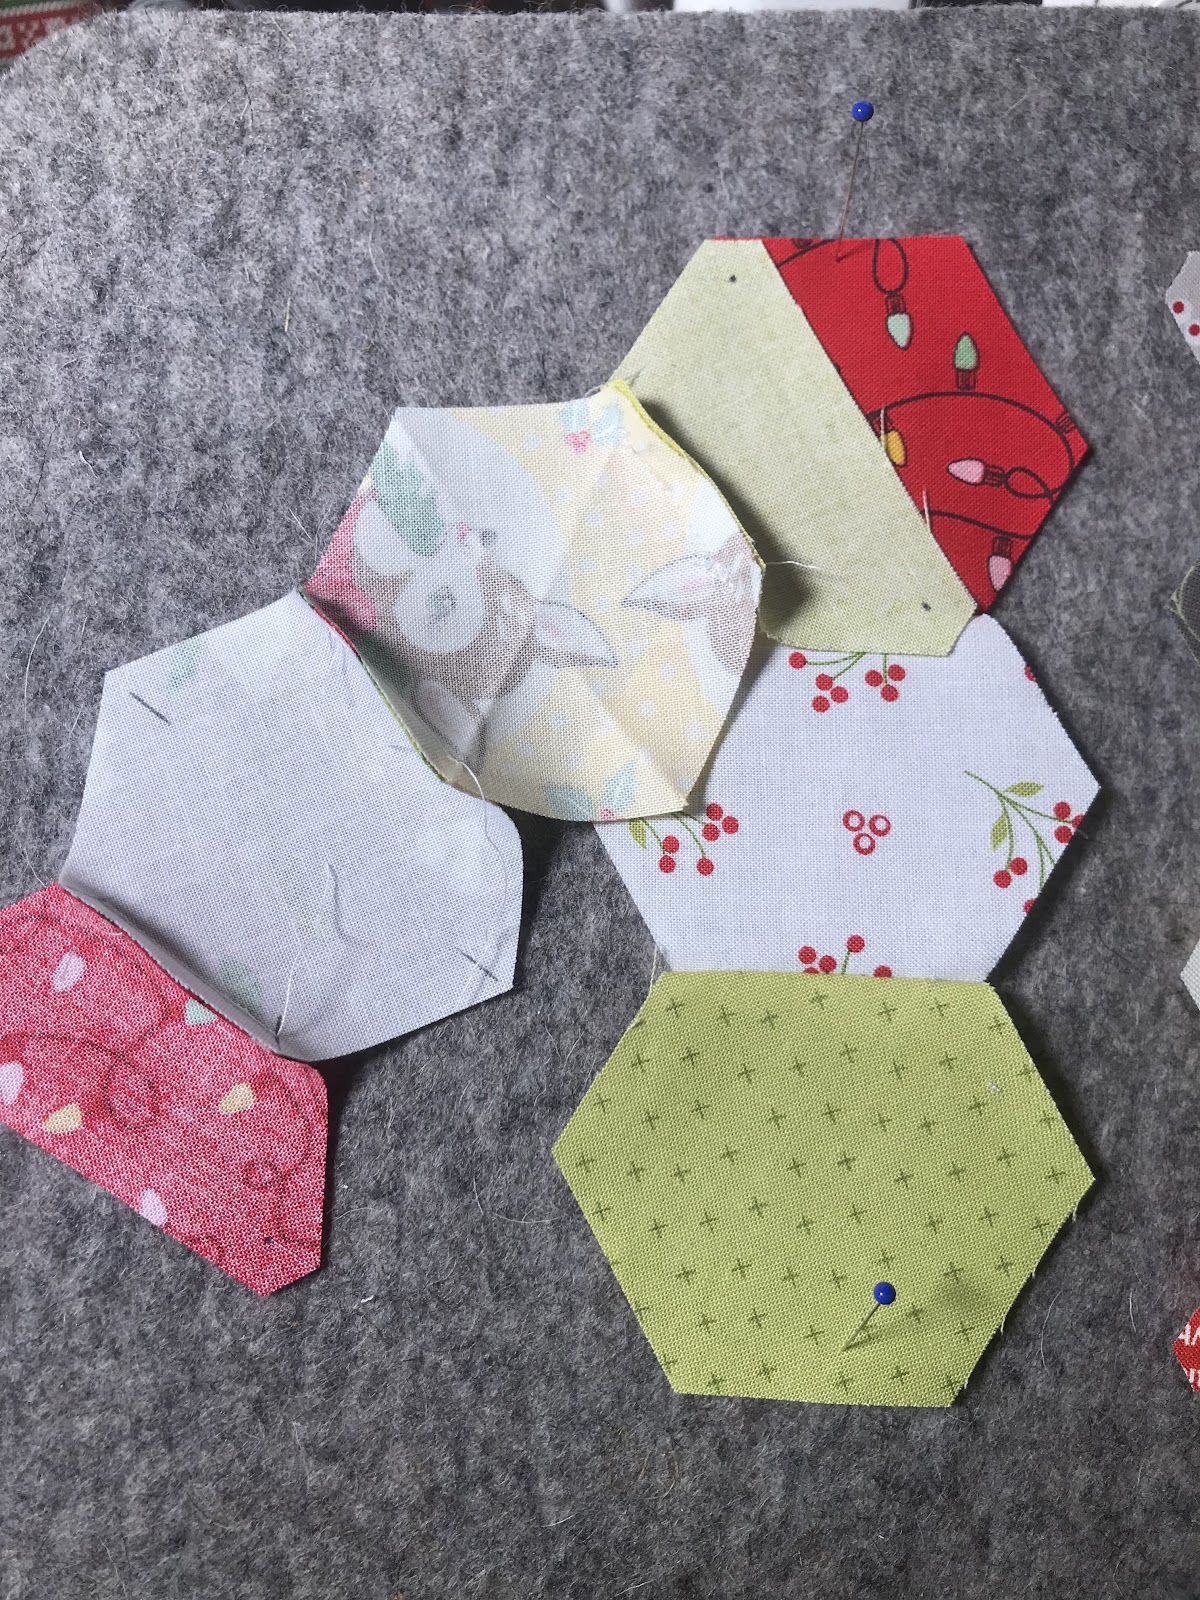
A Y-seam in quilting is when you have several seams come together and not in a right angle, like hexagons or a Lonestar quilt. The seam looks like a letter Y. The biggest challenge is keeping the intersection of the seams flat and not creating a tuck or a hole. It isn’t actually hard; you just need to slow down and be patient. If you learn where to start and end your seam, you are set up for success. For the sake of this tutorial, I’m going to explain how to work with hexagons. A hexagon is a nice shape because you don’t have any dog ears interfering with the intersection, so it automatically mitigates bulk at the intersections.
There are lots of ways to cut hexagons, including templates and cutting dies. I frequently use my Hex and More ruler.
There are a couple of ways you can make sure you don’t sew into the seam allowance. The first would be to mark your ¼” seam allowance on the wrong side of the fabrics. You need the seam allowances marked on all the sides that are going to be in the Y seam.

In a second method you can press the hexagon in half in each direction, pressing a crease into each corner as a guide.

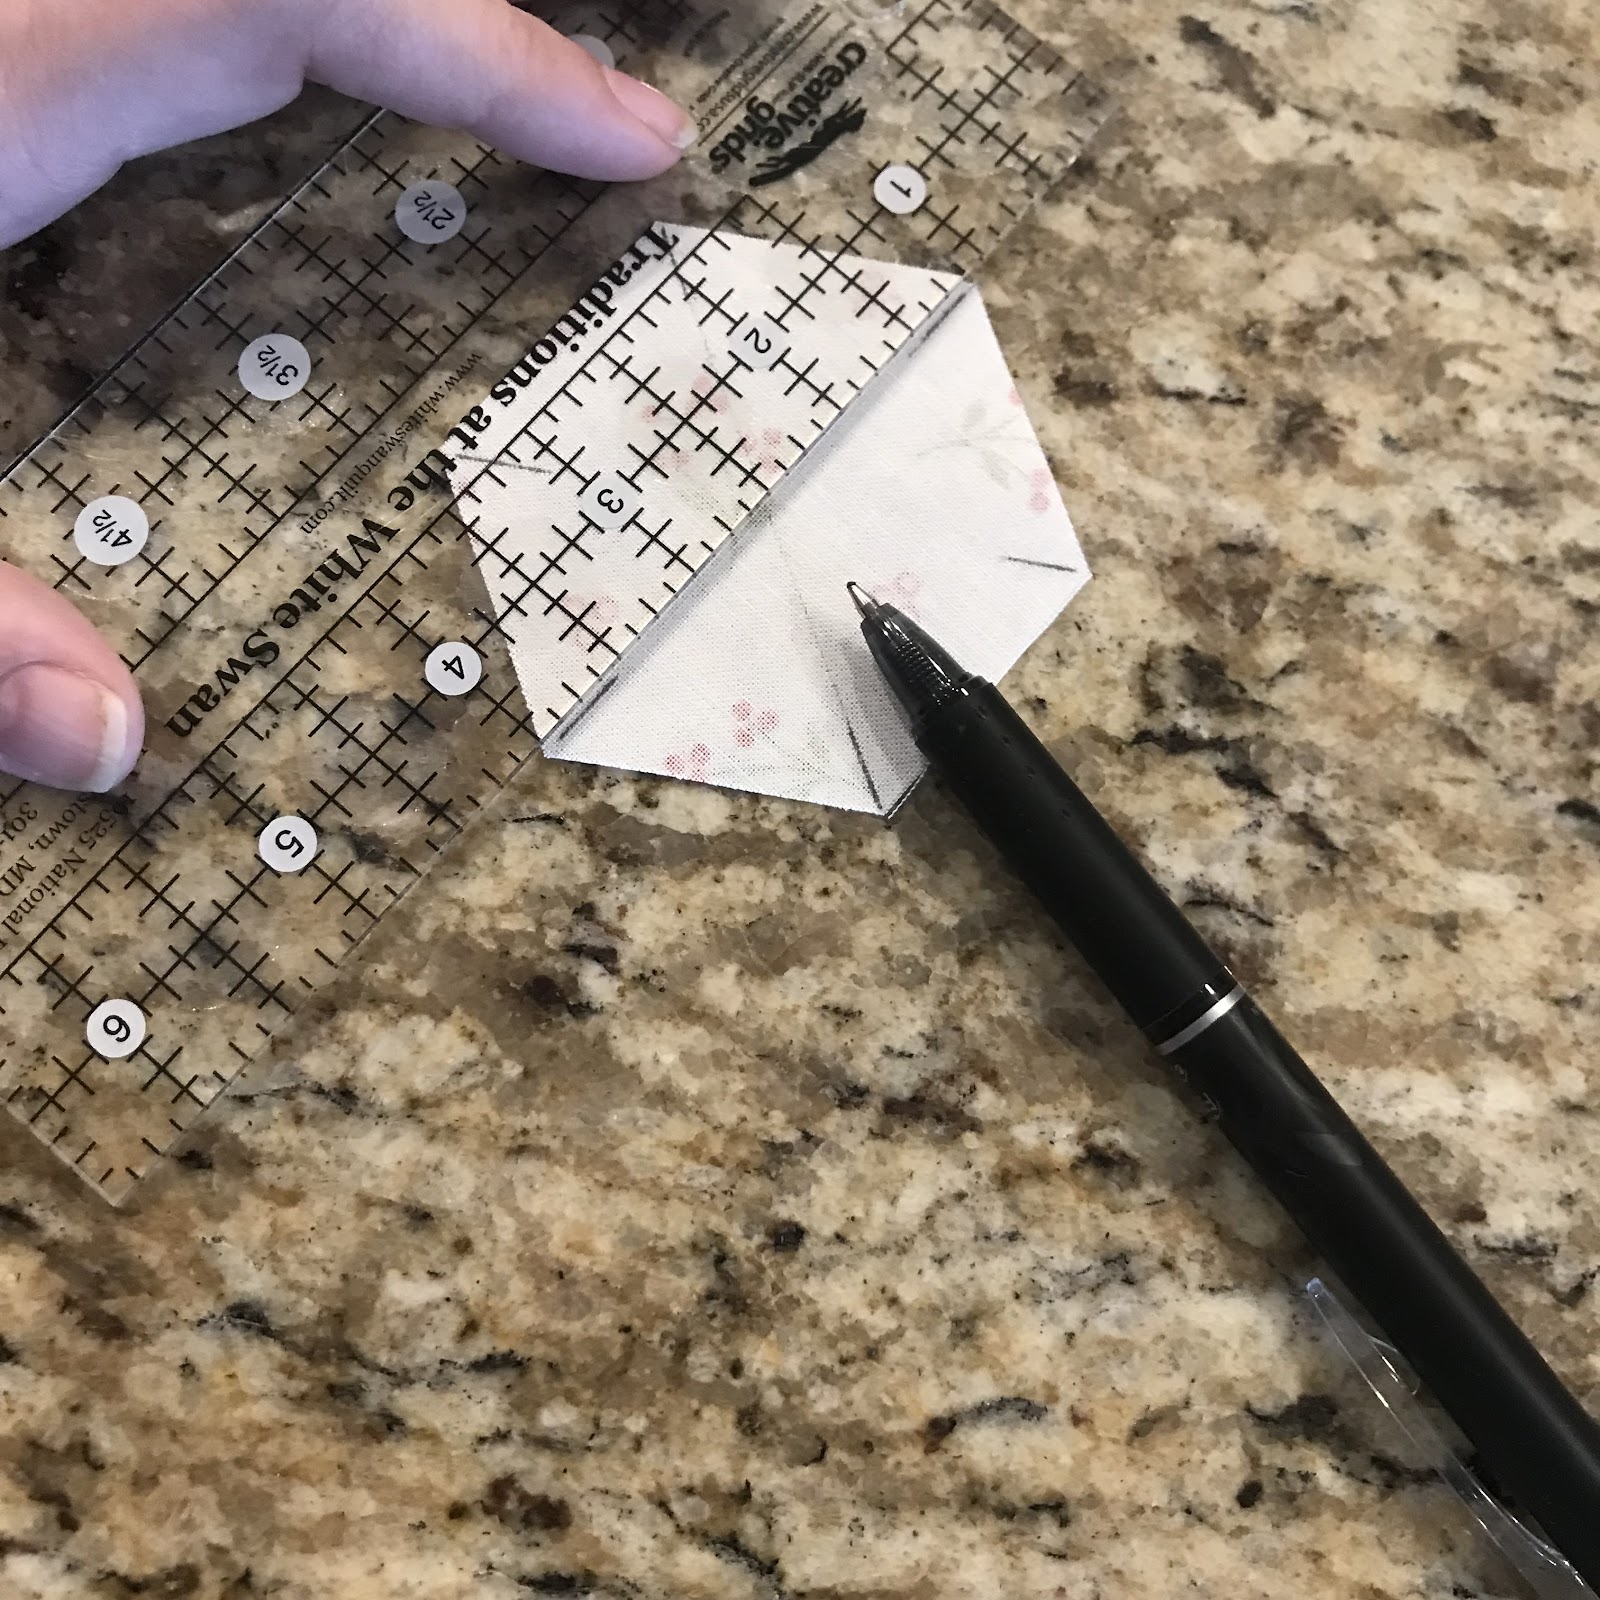
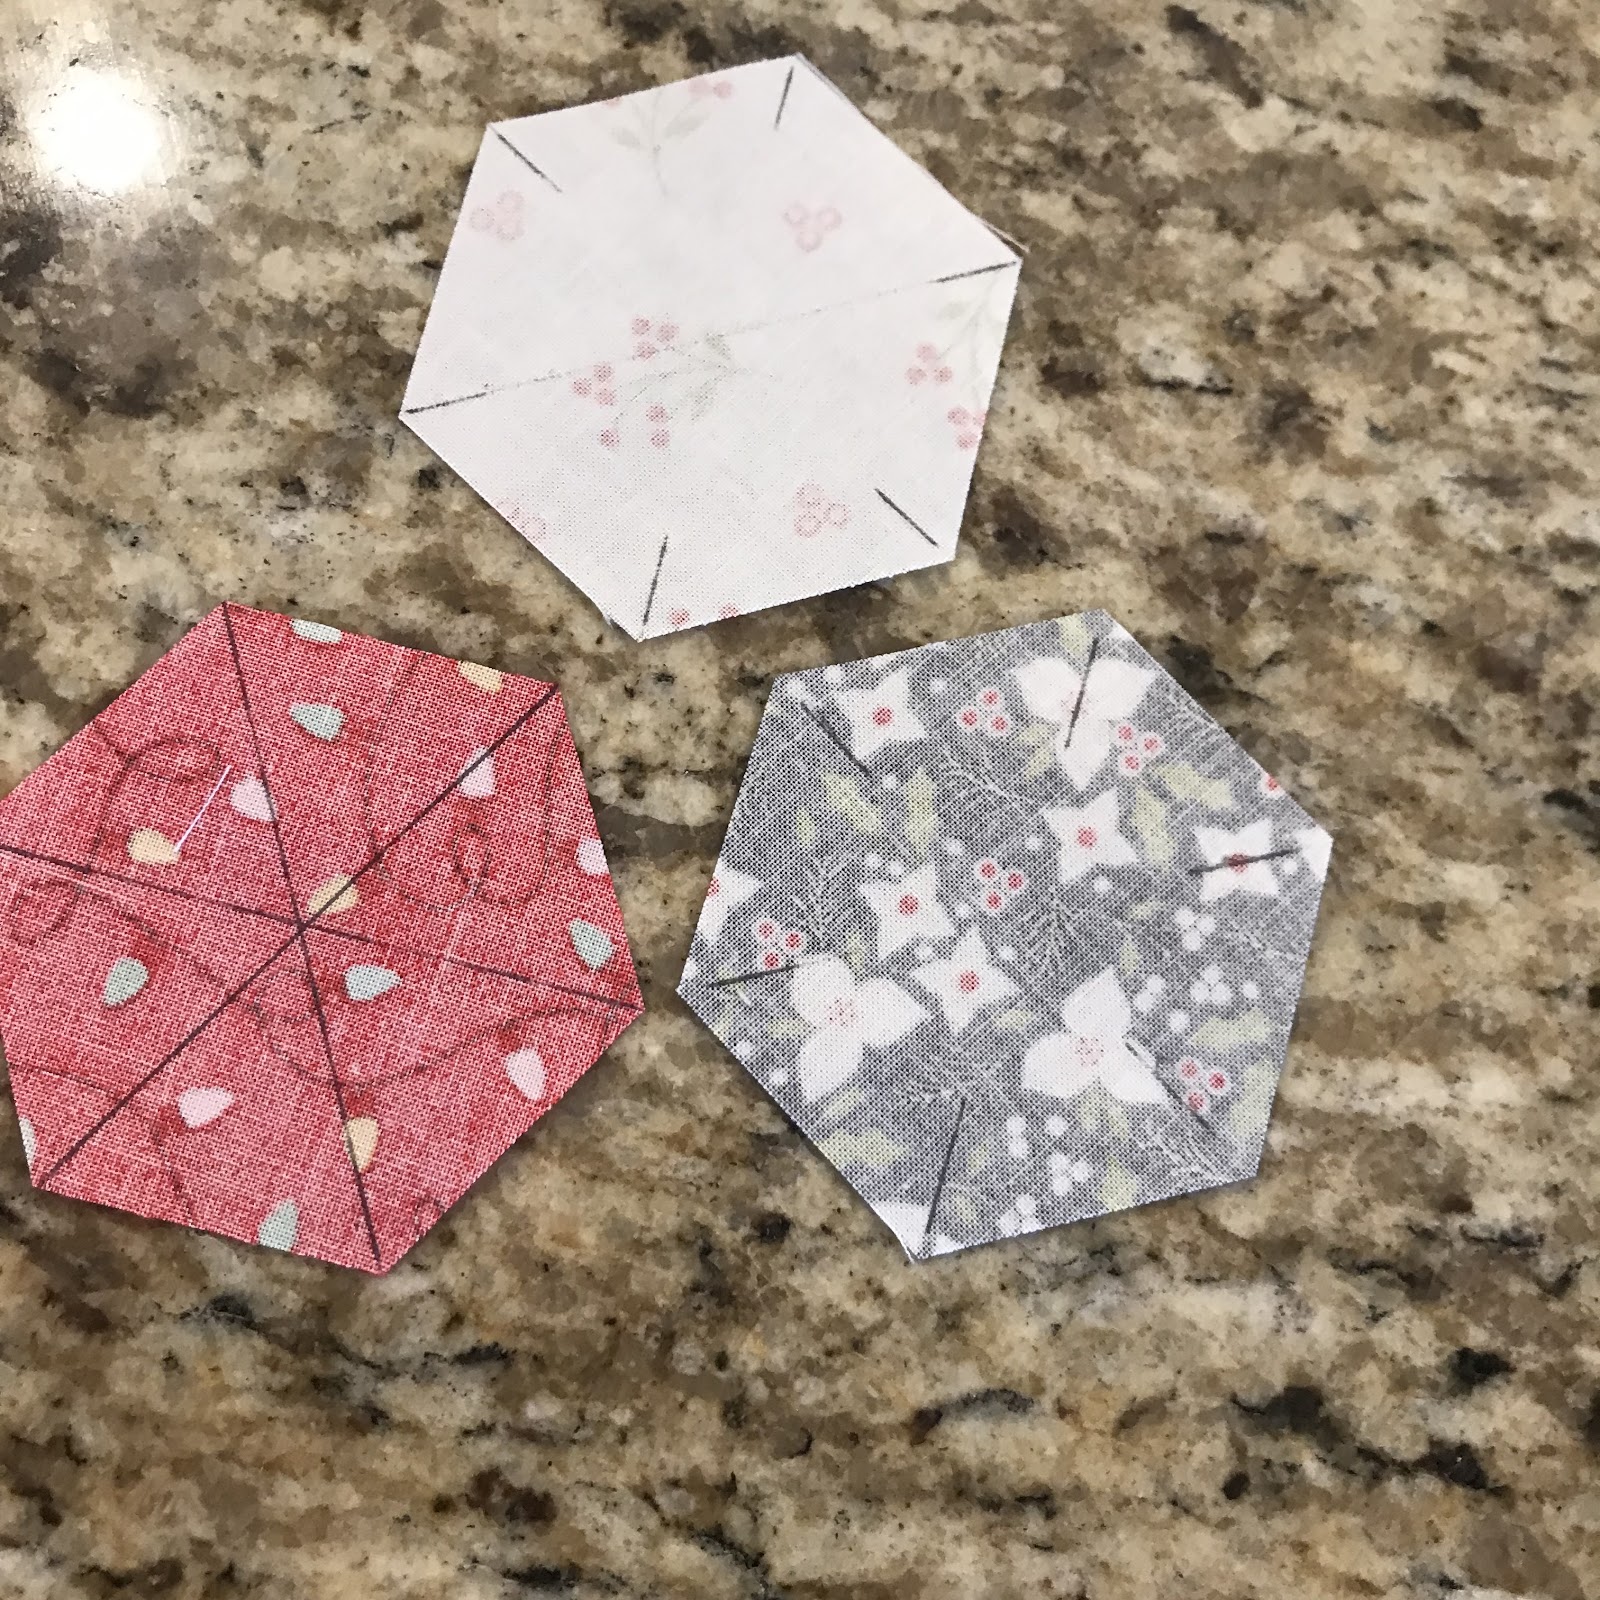
In a third method, you can use a Deluxe Corner Trimmer and Hand Piecing Aid tool to mark a dot at each corner at the ¼” mark. Whatever method you choose, you want your starting point and ending point on each seam marked. I usually use a Frixon pen as the marks will disappear when it is pressed.

Let’s back up for a minute. Starch is your friend. Any time you have fabric cut on any kind of diagonal, it is a great idea to starch your fabric before you cut anything. I know I probably sound like a broken record, but try it if you haven’t. The starch helps keep the edges from distorting.
After you have starched your fabric, go ahead and mark your edges by your preferred method. I change my mind depending on the exact item I am sewing. Try all of these methods and find what you like best. While I am sewing a lot of pieces together, I only finger press. At the very end I will press.
Now, I’m going to explain how to sew the Y seam, and then I’ll make a suggestion for sewing a whole bunch of hexagons together by sewing in rows.
General Y-seam instructions
With right sides together, align two hexagons together, matching the edge. Match the outside edges of the seam and pin.

Place the two pinned pieces under your needle. Lower the needle into the pieces exactly at the mark.

Stitch two stitches and back stitch two stitches, then sew to the mark at the end of the seam, back stitch two stitches. Make sure that there is unstitched seam allowance at the start and end of the seam.

Finger press the seam to one side and open the two pieces. Lay the next hexagon on top, matching the edge you intend to sew, with the new piece on top.


Pin each end to match. Again, lower your needle into the fabric at the mark.

Take two stitches then back stitch two stitches then sew to the end mark. Back stitch two stitches at the end. When you are doing the backstitching, you want to make sure you don’t go past the marks. Finger press that seam to the side.


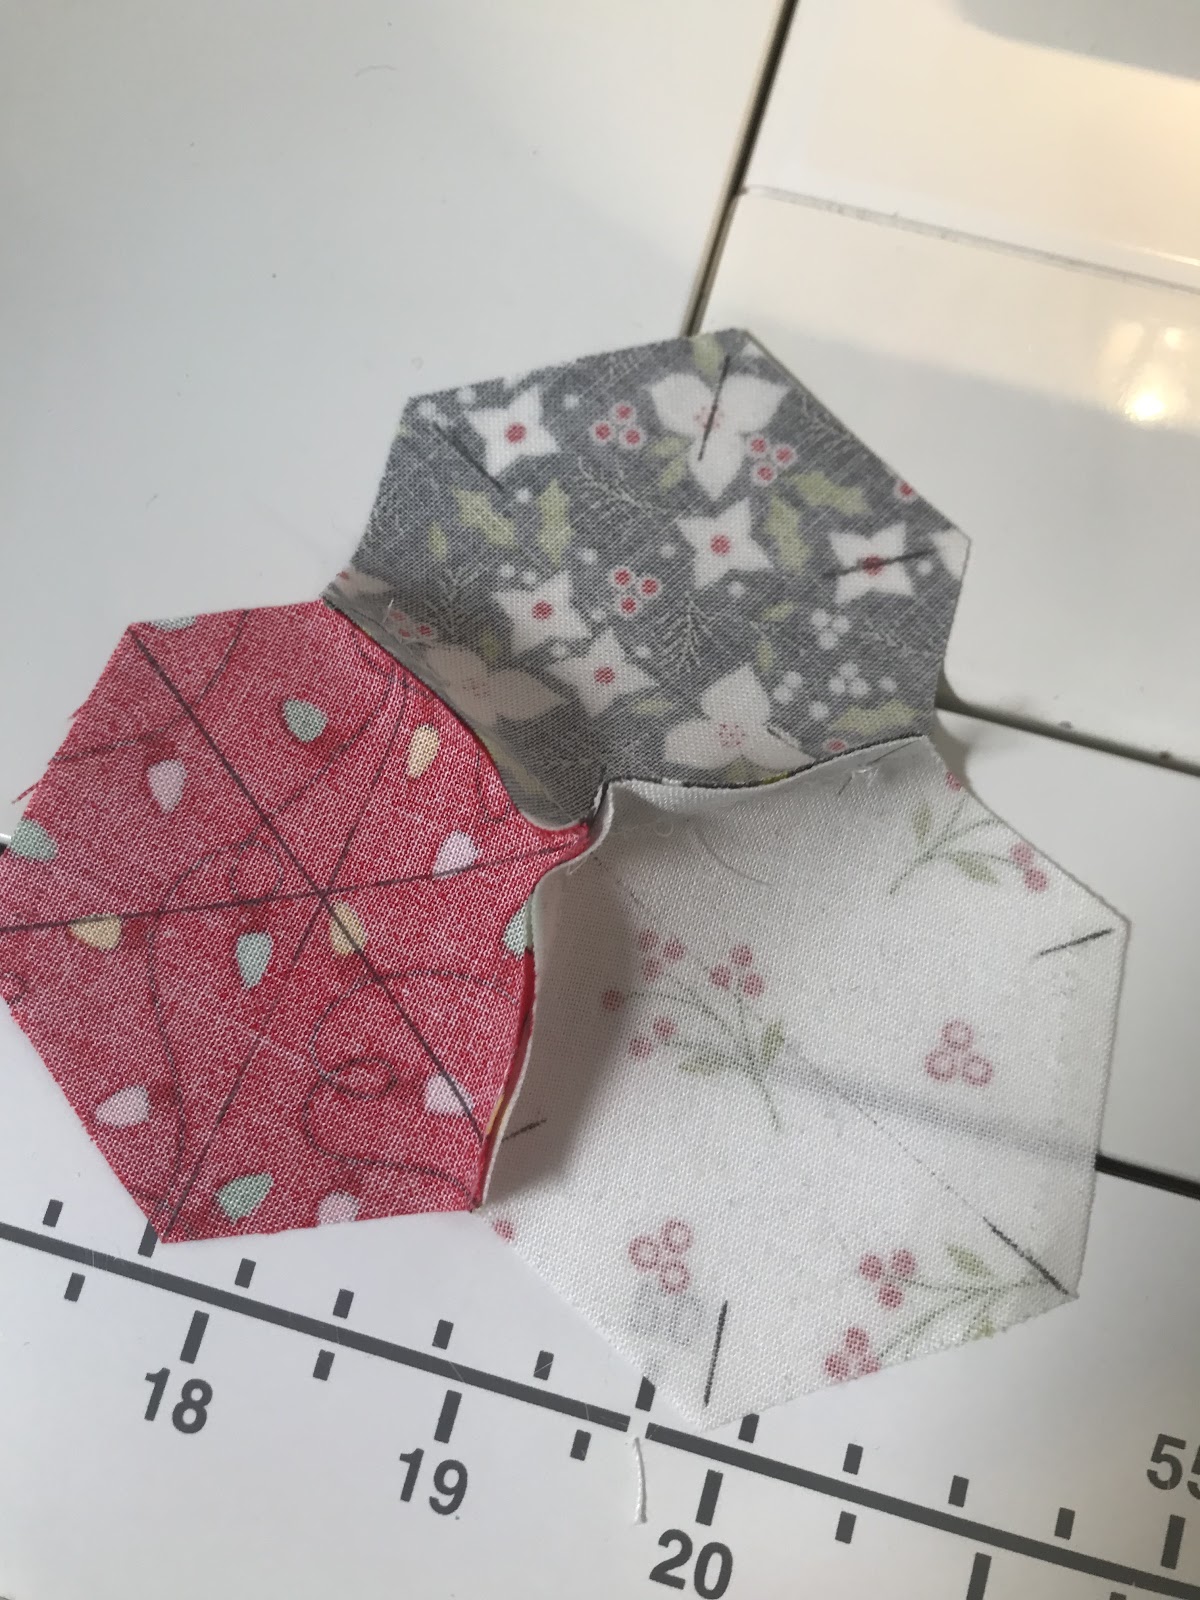
Reposition your top piece to match the last edge with the edge from the piece below it. You will need to fold the bottom piece in half. Start sewing at the mark, back stitch, sew to the last mark, and back stitch.

You have sewn a Y seam!

A few notes.
· We are sewing with an actual ¼” seam allowance.
· You may find it helpful to decrease your stitch length a little. I like to set mine somewhere around a 2.0.
· Slow down! I start each seam slowly and end each seam slowly. I even hand crank at the end if I need to.
· If you are having trouble, you can also come at the intersection like a partial seam. Stopping about half way from the intersection and then coming back to the intersection from the outside coming at the intersection.
· You can pin at the start and stop using the pin to know exactly where to start and stop.
· Try fingerpressing as you are constructing. Don’t press until you have the entire piece together. This is particularly helpful if you have used a marking tool that will disappear with heat. Frixion pen anyone?
· Use a skinnier needle.
· Use needle down if you have this feature.
· Use a stay stitch, back stitch or tie off stitch at the start and stop but don’t sew into the seam allowance.
· Press open if spinning the seam doesn’t work for you.
· A clear foot or open toe foot may make it easier to see your marks.
· If you stop just shy of the mark, that is better than continuing after the mark.
· When it is time to press the entire piece, press from the back first. Then turn over and press from the front. Try Flatter if you need a little help getting your piece to play nicely.
· Avoid a hole or a pin tuck by starting and stopping at the mark.
· When you are sewing the third seam of the y, make sure the other seam is out of the way. I like to keep all my seams folded towards me as I sew. I find that it is easier not to sew over any other seams. It is most helpful when I am pressing because I can get the seams to go in the direction I want them to. If I sew over a seam two things can happen. 1) I can’t press the seams in the direction I want. 2) It is easier to get a tuck at an intersection.
· Additionally, on the feet of your sewing machine you may have a marking for a ¼” on the side of the foot. You can use this instead of marking your seam allowances or pressing creases.
· This is similar to hand stitching hexagon pieces together. There is an awkward place where you have to fold some hexagons in half to keep them out of the way while you are sewing these together.
Now let's talk about how you would go about sewing a whole hexagon quilt together.
First you would lay out your hexagons as you are going to sew them together. Position your hexagons so that the straight sides are on the left and right sides. Lay out your quilt in rows.

Sew the rows together. Remember you are sewing starting at ¼” and ending at ¼”, leaving the ends of each seam unsewn so you can make your perfect
Y seam. Sew all your hexagons together into rows.

The rows are off-set and the seam sewing two rows together will be like a zig zag. Lay your first two rows side by side to show you where your first seam will go. Lay the second row right side up, and flip the first row down on top, matching only the first hexagon in each row.
Pin and sew as described above, starting and stopping at the crease, or marked intersection. This should be easier at this point because it is where your row stitching started and ended.


Sew the first seam. I do not sew over any previous seam. I push (fingerpress) all the previous seams towards me so that I don’t sew over them again. Reposition to match the next zag, or the next side of the hexagons.

Continue down the row and finish the zig zag seams.


Sew the remaining rows together following these steps.

If you press the seams all in one direction, it is called spinning your seams. It helps keep the bulk down.


And this brings us to the challenge… to make a hexagon quilt by machine. Remember, they do not need to be tiny hexagons and the entire top does not need to be made of hexagons, but you do need to make some Y seams. See what @gollygwhiz did here… supersized hexagons.

Go for it, and don’t forget to share what you have created at #dcmqg2021challenge.