October Challenge - Wedges by Anne and Lynne
Lynne here - Wedges are those pie shaped bits of fabric, often with their points chopped off, just as if someone had just taken a bite. They can be precision angles or a bit wonky and can compose a full circle or just a few wedges…. There are so many possibilities! Here is a bit of eye candy to get you thinking, and then scroll down for info on how to make your own adventure into wedgy goodness.

Photos from left to right - Lynne, Dolores and Aubrie
Rulers
First about rulers… do you need a special one? Well, that all depends if you want precision or wonky. If the latter, then have at it. Here is what Diana has started with improv wedges.

If you want to make full circles however, a ruler or template is helpful. In this blog post Christina Cameli shows you how to make and cut with your own template.
Dresdens
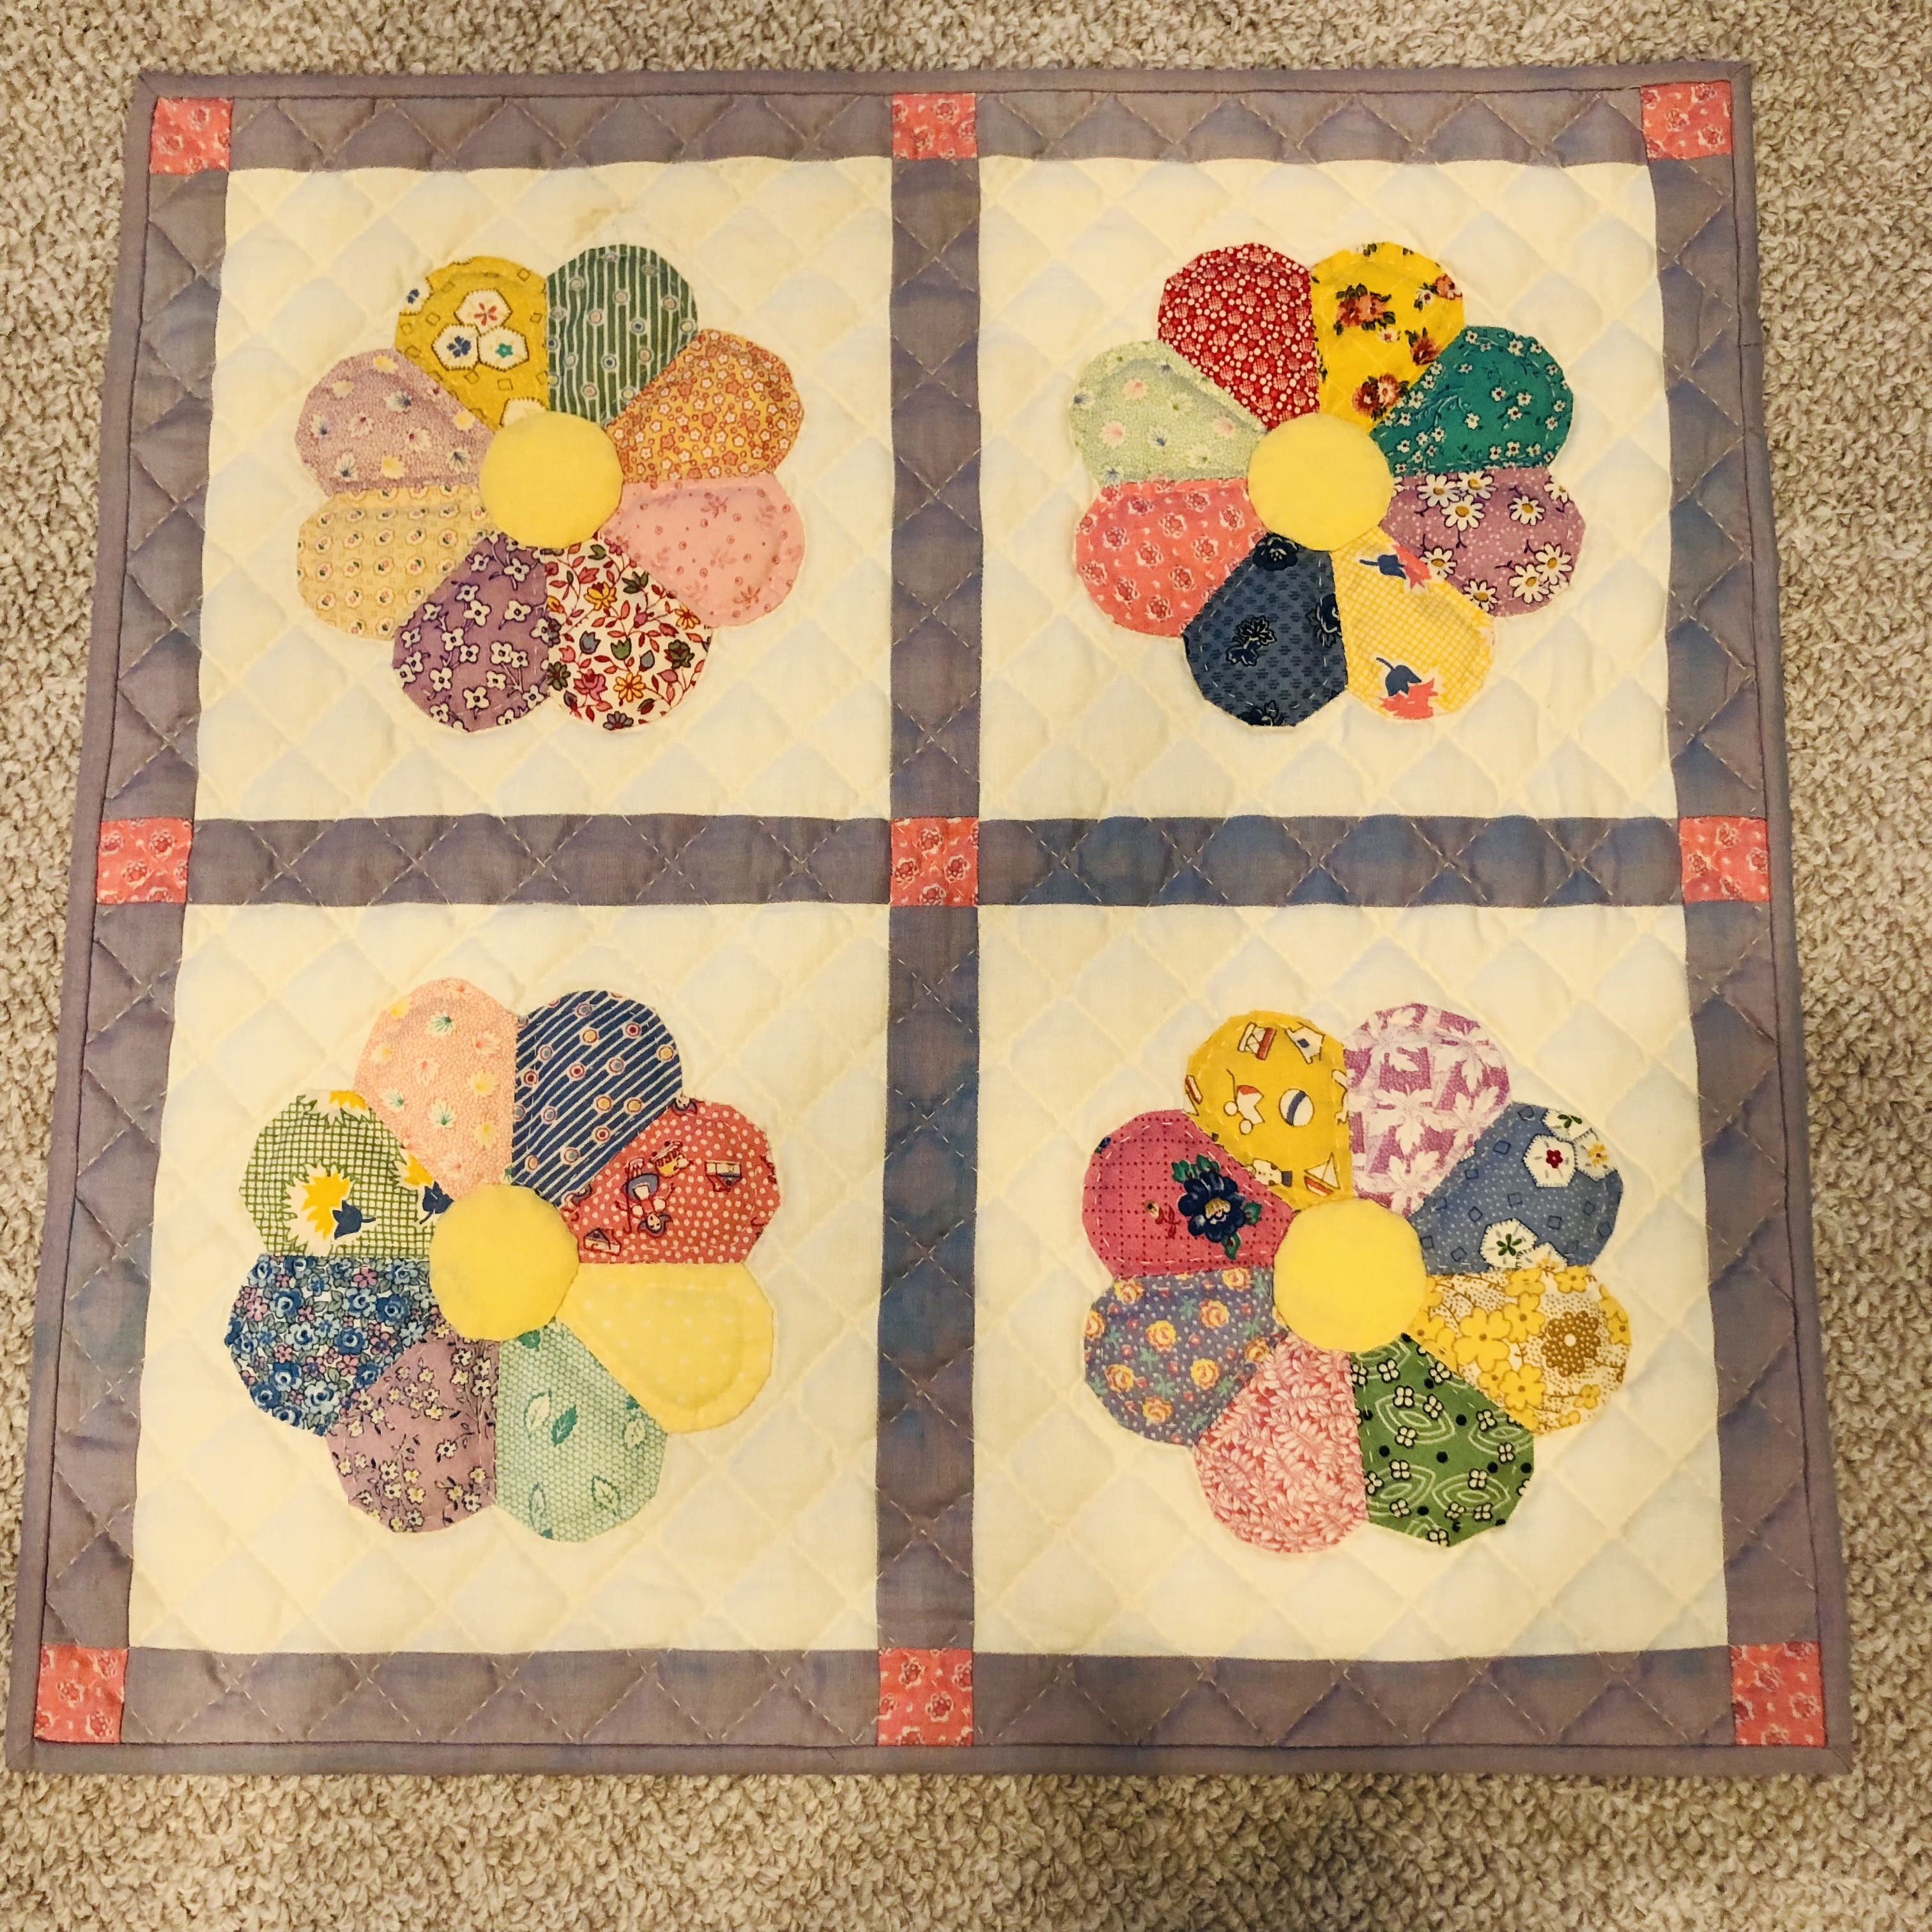
The Dresden Plate is a classic quilt pattern that is ripe for some twists. At a retreat a few years ago Anne B graciously showed me how to make one. Just look at these examples of hers. There is nothing like learning from a master...


Anne: The Dresden Plate quilt block is a traditional block that is enjoying a revival among modern quilters. Although it appeared in 19th century quilts, especially those made of silks and velvets, it is most often associated with the quilts of the 1920s, 30s, and 40s with their pastel prints, solids, and feed sacks. Many of these quilts were sold as kits. The name comes from the German city of Dresden which was known for producing fine porcelain.
A unique feature of the Dresden Plate is that it combines piecing and applique in the same block. A number of wedges or “blades” are stitched together in a circle, a fabric circle is then appliqued onto the center and the entire unit is then appliqued onto a background fabric.
I like the 8” ruler by Darlene Zimmerman but there are other brands. I even have a mini ruler by Suzn Quilts. But you can still make Dresdens even without a ruler! Search for free Dresden patterns and find a paper template to print. Then follow Christina Cameli’s trick for making wedges without a template, which Lynne mentioned above. Then follow my directions below, starting with folding the Dresdens in half and sewing across to create those pointed edges.

Keep in mind that your finished Dresden will be more than twice the size of the wedge ruler. Instructions for making Dresdens can usually be found in the packaging of the ruler but these are the basic steps:
From assorted fabrics, cut 20 “blades” 8” tall. (You can make the blades any height you want.) Note: the height and shape of your ruler will determine how many blades you need to make but generally you will make either 12 or 20.
Fold each blade in half lengthwise at the wider end, right sides together, matching the cut edges. Sew a ¼” seam across the top seam - one side is a folded edge, one side is a raw edge. Carefully trim your seam allowance at an angle at the fold to reduce bulk. Turn right side out using a point turner. Center the seam in the middle and finger press the seam allowance to one side. Press with an iron.

Sew the blades together in pairs. Take two blades RST, making sure that the folded edges meet up where you sew your seam. It is not as important that the seams match up at the narrow end because it will be covered up by the circle. Sew a scant ¼” seam beginning at the top (folded edge.) Start your stitching a little ways down and backstitch so your beginning threads don’t poke out. You don’t need to backstitch at the end. Continue to sew the wedges together in pairs until you’ve made half the circle, then the other half, then the full circle. Note: If your circle does not lie flat, you may have to stitch a closer seam at the narrow end on a few of the blades. Press all seam allowances in the same direction around the circle.
Make the center circle using your preferred method. I like Karen Kay Buckley’s Perfect Circles.

You can make the circle any size as long as it covers the raw edges of your blades. Audition different sizes to see which you like best. Position your circle onto your Dresden ensuring that it is centered and covers the edges. Hand or machine applique in place.
Cut your background square generously. Fold the square into quarters to find the center and position the Dresden accordingly, using pins or glue. It is very simple to applique your Dresden to the background fabric because the edge is finished and turned under. You can hand applique, or machine applique using a blind hemstitch or decorative stitch. Note: You can skip this step and applique your Dresden onto a bag or pouch...whatever you like!

One more thing...for those who like English Paper Piecing, you can purchase Dresden shapes and make the whole thing by hand. These Dresdens are slightly different and have a rounded edge.
Other Wedge Ideas
Lynne again: To start exploring wedges, I dumped out my box of aqua scraps and started to cut 5” wedges. I used a ruler that I already had… an 18.5 degree one. I initially thought that was an odd number, but 5 of those wedges make a quarter circle, so in the end it works out well as it gives me flexibility to make quarter, half or whole circles. I started to play with them and then watched the “Wedge Quilts Go Modern” MQG webinar by Christina Cameli from a few years ago. It has lots of ideas! You need to log into the MQG site, go to resources and put “Wedge Quilts go Modern” in the search box. The first few minutes have no video, just audio, so don’t be discouraged and forward a bit until there is action. It is worth the wait.

After playing with the shapes for a little while I decided on using a 5 wedge piece to make a quarter circle. Wanting to make my sample into something useful, I built it out a bit and made a pot holder.

Next I started playing with chains of the wedges. For this baby quilt I made lots of sets of three wedges and then sewed three wedges together curving in one direction and then attached the next three wedges in the opposite direction to produce undulating undulating curves. They could be appliqued to the background, but since the curves were gentle enough I decided to piece them into the background.

Finally I tried an idea from Christina’s webinar. If you look at Dresden Plate blocks and many wedge quilts, the points are chopped off or covered up. There is a very good reason for that - all of those points meeting together becomes very challenging, hence the tidy circles that often cover that section. Here I used sets of three wedges, made a straight cut chopping off the top and bottom of the threesie and attached white fabric to form the point. This opens up a whole new set of layouts that you could play with.

So give it a go. Cut those wedges - wonky or precise. Is a Dresden Plate on your bucket list? Then go for it! Or are you ready to make your own adventure? Your wedges can be up and down to make straight rows as in Dolores’s temperature quilt, or in a full circle as Aubrie did in her quilt for the Ten show, or anything in between. Cut your wedges from pieced fabric,, or vary the height of them. The sky’s the limit! And don’t forget to show us what you have created by using the hashtag #dcmqg2021challenge.