
September is for String Quilts by Laurie (with a bonus wide border/binding tutorial)
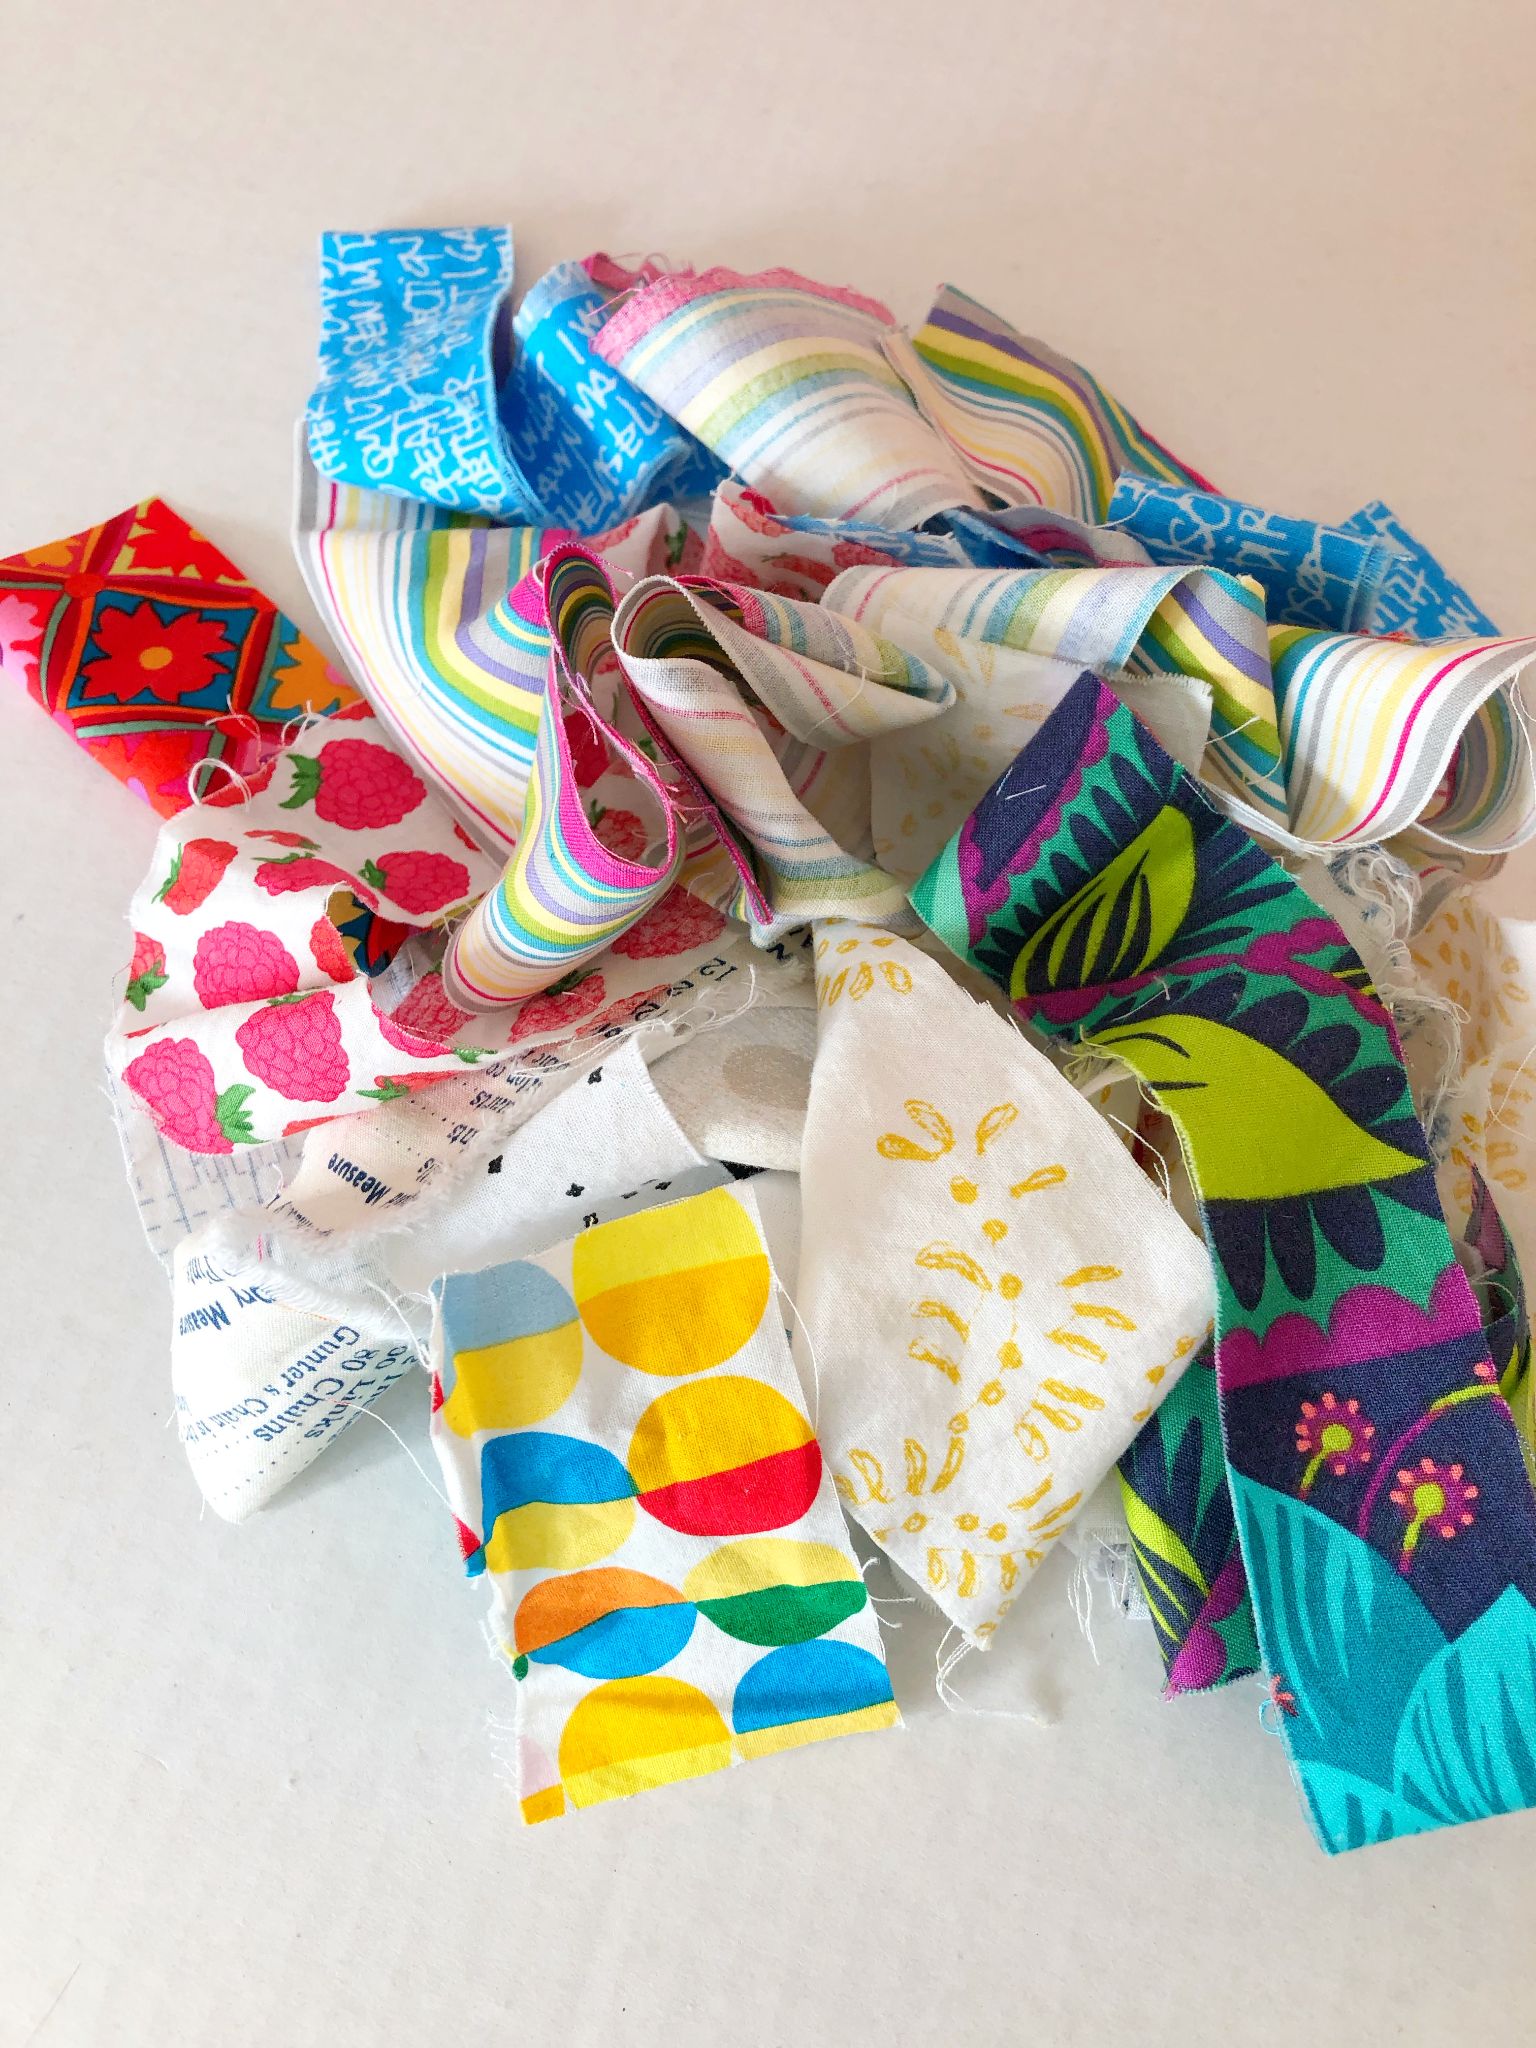
When I started reading quilt blogs ten years ago I came across the term “strings” and I wasn’t sure what that meant. I soon figured out that string quilts were just quilts made out of narrow strips of fabric. String quilts are a scrappy quilters’ joy since they allow you to use up those long, skinny scraps that are inevitable when we are trimming blocks. String quilts are a major part of our quilting heritage; log cabin blocks are made from strings, as are many improv quilts. When you make a string quilt you also will feel virtuous as you will be a full-fledged sustainable quilter.
My favorite string quilt pattern is by Tonya Ricucci and she has written a free tutorial on her Lazy Girl Quilting blog. You can find the link here. Over the years I have used this basic pattern to make over a dozen quilts. I have made some minor changes to Tonya’s instructions. You can read both methods and decide which one you want to use.

Step One - Trim your Scraps
The blocks in this quilt are 10.5 inch unfinished and each block has 11 rows of 1.5 inch wide strings. Each row is made up of two or more strings. That means you will need a minimum of 22 strings for each block. While that might seem daunting you will be amazed at how quickly you can make strings out of your scraps. I have bins full of 1.5 inch strings that I cut from leftover scraps. You can sort your strings by color if you want to make a rainbow version of this quilt, or you can make a random scrap quilt like Tonya’s inspiration quilt.

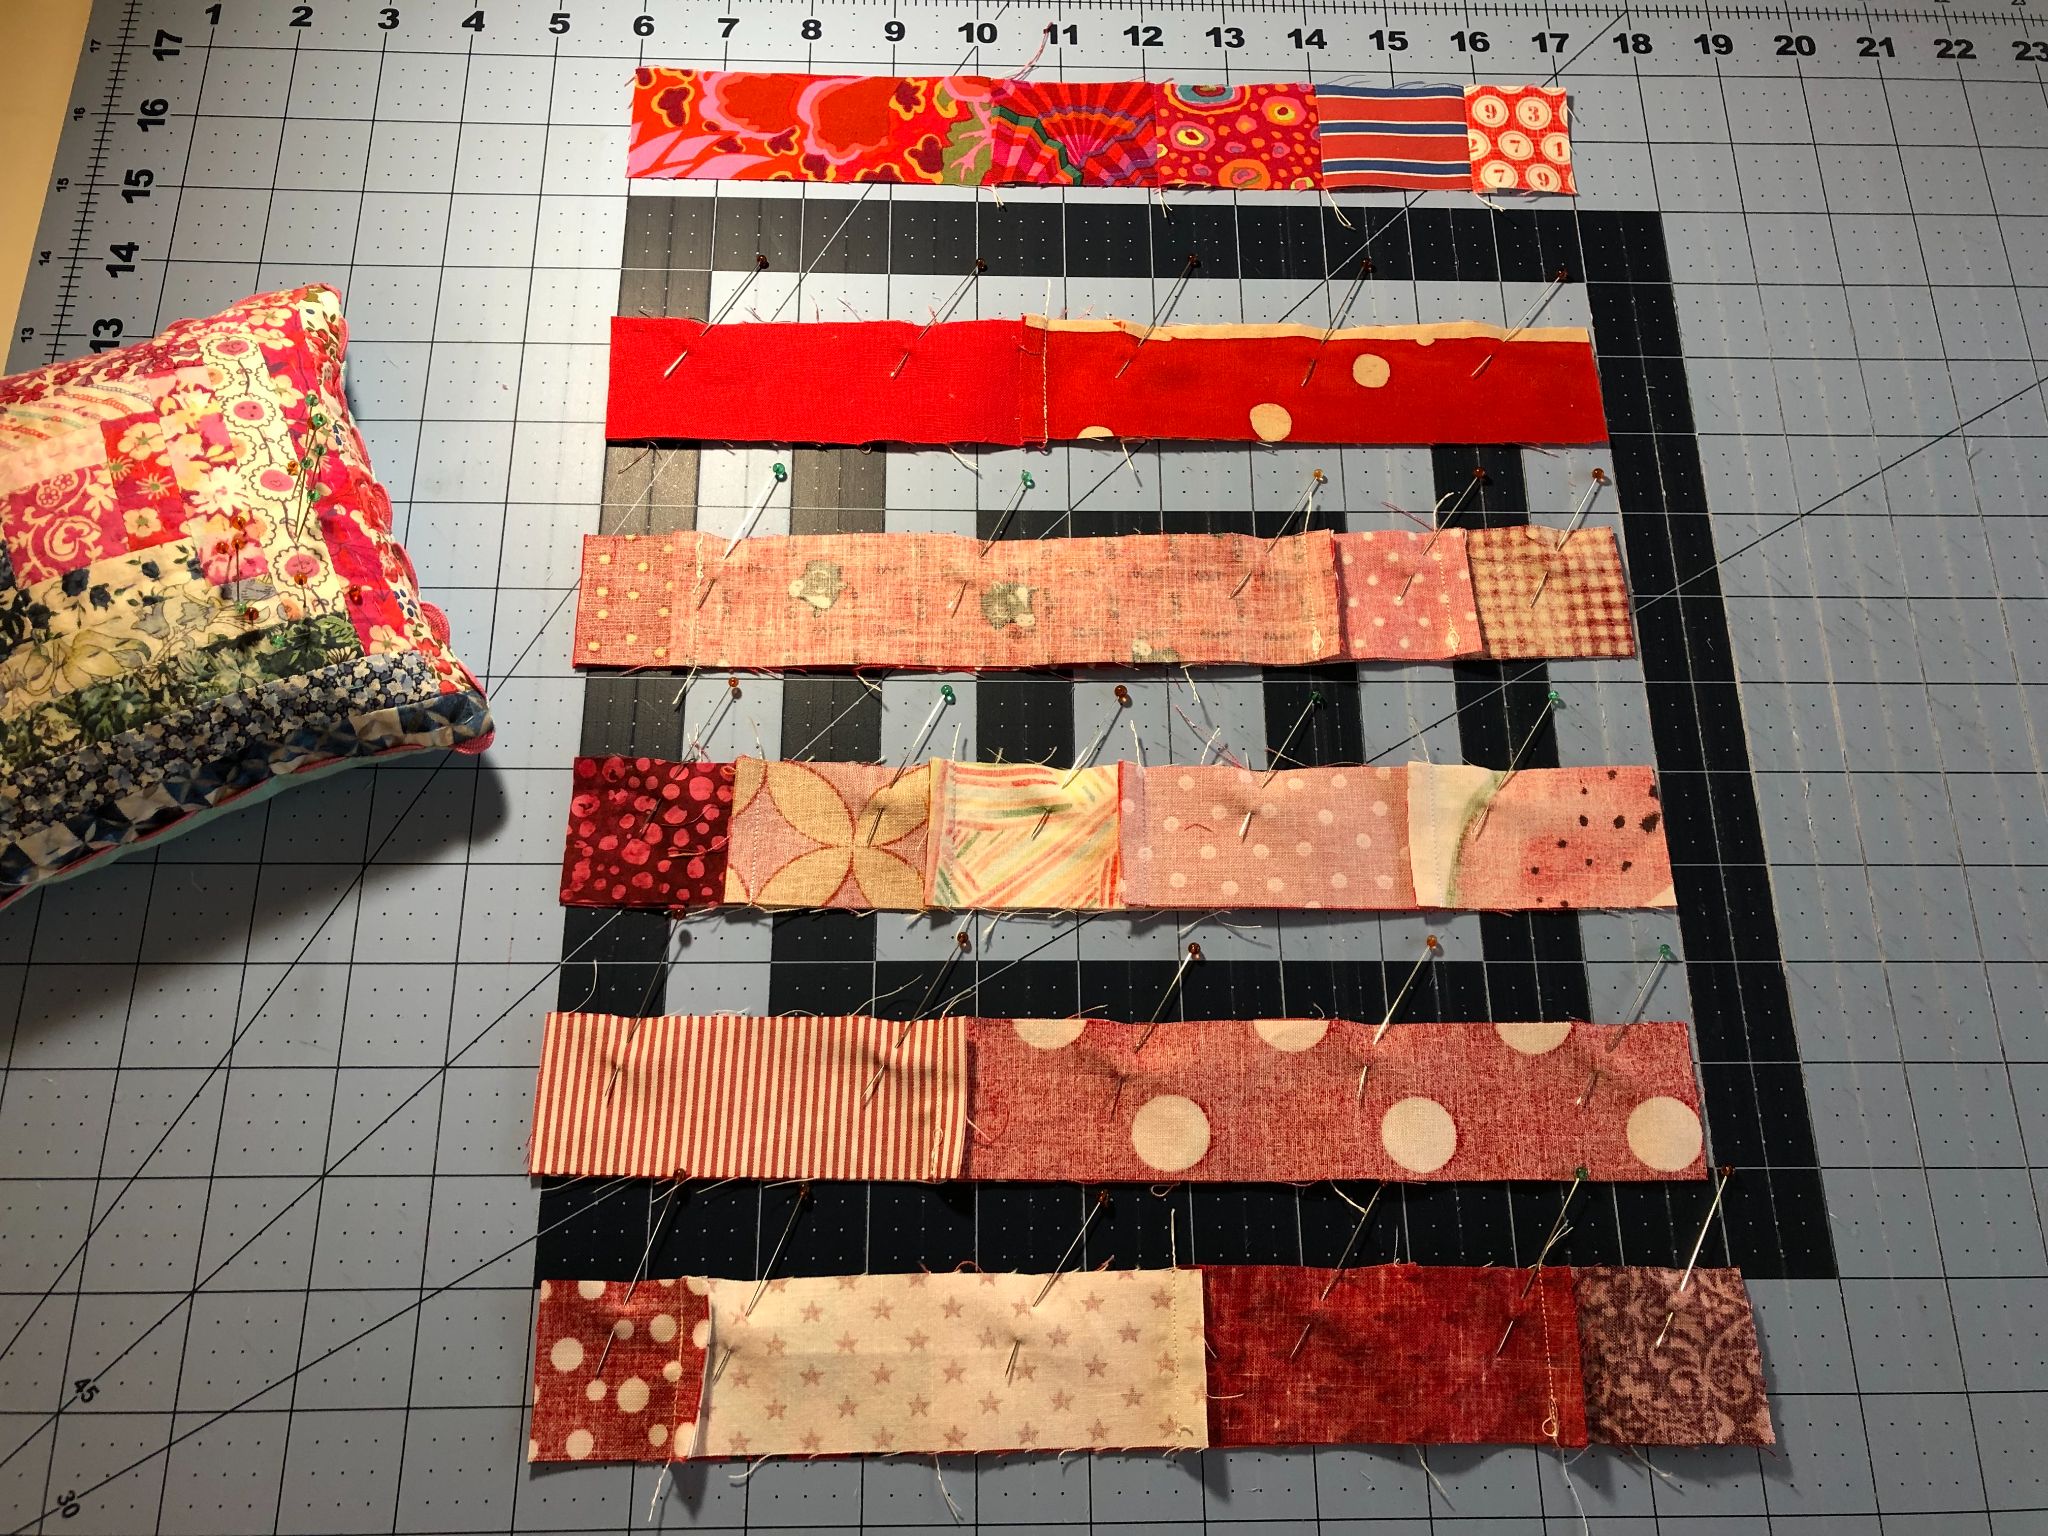
Step Two – Arrange your strings into a block
I make one row to start each block. The row is 11 inches long and I use it as my guide as I pick out the strings for my other rows. Each block has 11 rows and I make my strings 11 inches long which gives me the luxury of being able to trim the block at the end to 10.5 inch square. There are an infinite number of ways of designing your blocks. Color sorting is the easiest. I suggest making sure to have both light and dark pieces in each block as it gives some visual interest. The rows can have as few as two strings or as many as six or even seven. Play around with each block until you like the results. Note this is not the method used by Tonya Ricucci or Chawne Kimber. Both Tonya and Chawne make their rows with random strings sewn together. You can do whichever method you prefer.

Step Three – Sew the block
First sew the scraps into a row. I use a full quarter inch seam. If the row isn’t 11 inches you can always add another bit. I have a bunch of 1.5 inch postage stamps that I add if my row isn’t as long as I thought it would be. If the row is too long, trim it down and then use the excess in another row. It is a very forgiving process. After the 11 rows are sewn you then sew the rows together to make the block. I typically start by sewing two rows together at a time and then sew the larger sections together to make the block.
Step Four – Trim the block
Trim the block to 10.5 inches square. I have a large ruler that helps me with this process but that is not necessary.

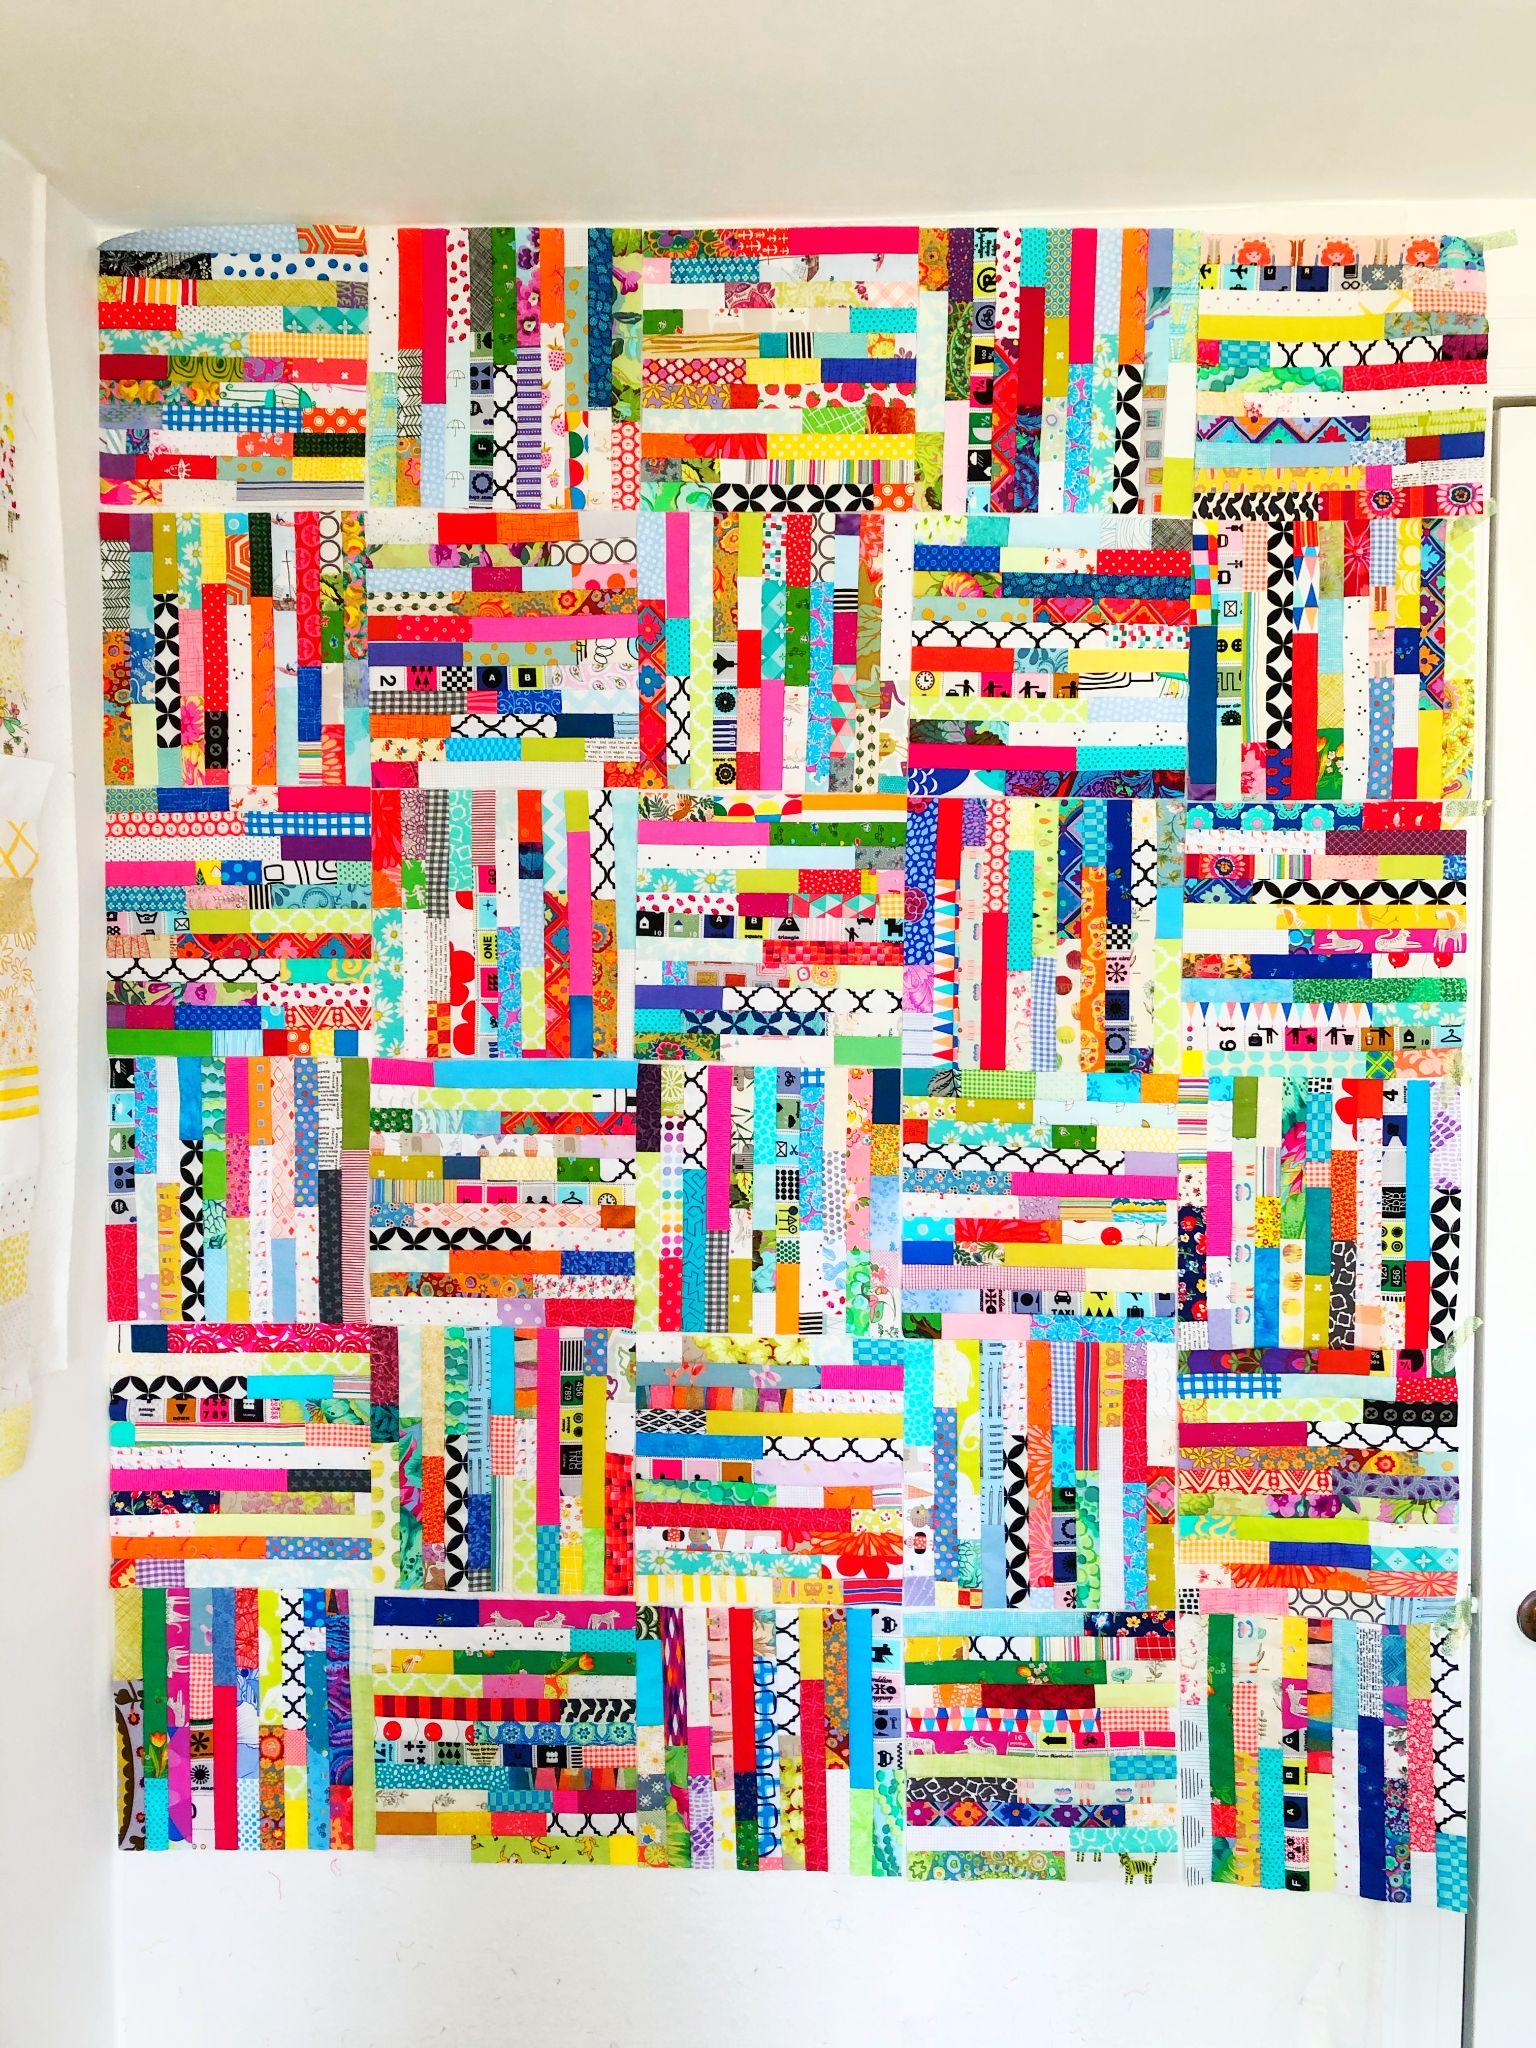
Step Five – Sew your blocks into a quilt top

The rainbow string quilt shown above has 4 rows of 4 blocks which is 16 blocks total and is the perfect size for a baby quilt. Have fun when you are playing with your final block design. For more inspiration for how to arrange your blocks you can visit my IG hashtag #lauriepiestringquilts and see some of the other quilts I have made with this basic pattern. Each block will finish at 10” square so the quilt math is easy if you want to make a larger quilt.
More String Inspiration and Resources
There are many free patterns for string quilts. One of my favorites is the Norah quilt by Sunny Day Supply and you can see the tutorial here. Chawne Kimber has a short blog post about how she made her “Compost Quilt” here. Many DCMQG members have enjoyed making Carolyn Friedlander’s Ray quilt and that free tutorial is here.
Don’t forget to post your string blocks with the hashtag #dcmqg2021challenge – I can’t wait to see what you create!
Bonus tutorial - How to make a wide border/binding for your quilts
I frequently get asked questions about the wide borders on my quilts. I use a method where my border is also my quilt binding. When I started quilting as a teenager with my grandmother back in the 1970s there wasn’t a standard method of binding quilts the way there is one today. When I made my first quilt all by myself in 1993 I used the backing fabric to bind my quilt. That was a common method of binding quilts at that time. The backing fabric was purposely cut larger than normal and some of the fabric was folded to the front and then hand sewn to the front of the quilt to form a binding. However on my next quilt I used the method where I added a wide border to the front and then turned some of the fabric to the back to bind the quilt. I’m not sure where I came up with that idea. I suspect that as a mainly self-taught quilter it just made sense to me. I’ve always thought of it as “hemming my quilt” as you would hem a skirt. I’ve kept using the method over the years as I like having a border on my quilts. It’s like having a frame on my quilty picture.
Making a wide border is easy. The first step is to sew a border on your quilt. Unlike most binding methods I sew on my border when I have finished my quilt top but before I have quilted the quilt. I typically sew a 4 inch border on all sides of the quilt, but at times I use a 3.5 inch border. Then I quilt the actual quilt. I do not quilt the border.

Quilting finished. It’s ready for the binding
When you have completed your quilting the second step is to trim your batting and backing. I start the process with the quilt right side up. I fold the border in half so it lines up with the edge of the quilt. Then I take my scissors and carefully trim off the excess batting and backing. I do this one side at a time.

Right side up to begin the process

Fold the border in half

Trim the excess batting and backing from the quilt
Once the side is trimmed I then flip the quilt and work with the backing fabric facing me. The third step is to start folding the border so it can be hand sewn to the back of the quilt. I use a Clover hot ruler to create a half inch fold all along the side of the border fabric. As I do that I then fold the border again and pin it to the backing fabric. Continue until each side is complete.
The four corners take a bit more care, however the process is the same. I fold each corner as I come to it with the same folding method. You might have to slightly adjust the fold to make it fit neatly but it always seems to work out okay.

Flip the quilt so the backing is facing you

Fold the border and iron to create a half inch fold

Fold again and pin your border to the back of the quilt. You are ready to hand stitch
The final step is to hand stitch the folded border to the backing. This is the part that feels just like hemming a quilt to me. I start at a corner and I whipstitch the ends so they stay closed. Then I use a hand stitch to sew the border to the back.

One of those tricky corners
There are pros and cons to this binding method. Many people think that this binding method is not as sturdy as it is only a single layer of fabric. I haven’t had much trouble with my bindings but perhaps that’s because I am careful not to use fragile fabric as a border/binding. However if that is a worry then this most likely is not the best method for you. Happy Binding!